Project Maiko: The Shader Group
/
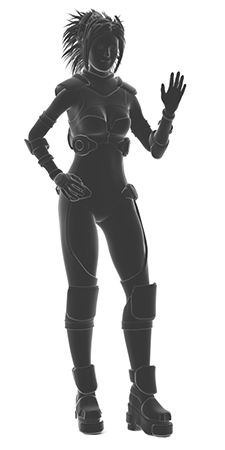
Click for high-res version.
This is Part 2 of the Project Maiko Shader guide.
Part 1: Understanding Cycles Toon Shaders
We've covered the basics of what Cycles shaders are doing, how to mix them, and how different lights will affect them. Now we can see it all on an actual model.
The Shader group I used for Maiko is simple. I wanted to follow the manga style of minimal detail, so rather than worry about texturing, I let Cycles provide most of the nuance of the image with nice gradients of light. The only textures are the eyes and a stencil for her makeup.
I used several different materials, but all of them are the same Shader group with slightly different settings.
The Nodes

The nodes in the Shader group, shown ungrouped for simplicity.
As shown in the first post, the Shader comes down to a diffuse and glossy mixed with fresnel. But instead of just a single diffuse and gloss, it's a mix of a normal of each and a toon of each. I wanted to get a hard edged toon look, but I didn't want it too hard. I mixed in the regular shaders to add some softer gradients and keep the character from looking too flat. I didn't want my specular highlights to be too strong, so I didn't make them pure white.

To make it easier to see comparisons, I've overridden the whole model with a single color and settings.

The outside of the group, showing the inputs that I wanted to be able to control for different areas of the outfit.
The regular Shaders are showing details of the model that the toon Shaders flatten out, and the toon shaders are giving the hard specular highlights and hard-edged shadows we need for a toon look.
Slightly varying the mix factors, sizes, roughness, and smooth allow one group to cover a variety of different materials. Combine the nodes into a group and connect whichever sockets you want to change to the group's inputs. You can set them to be different for each material that uses the group.
Fresnel Comparison

The factor given by a Fresnel node with 1.5 IOR.
In the first post, we talked about Fresnel versus mixing with a flat factor. With an actual model, it is easier to see the effect Fresnel is giving us.
For this comparison, I used a mix factor that gave roughly the same amount of highlights on facing areas, but we can notice the difference Fresnel is making at glancing angles. The deeper shadows are a bit darker, and the light edges get a bit lighter. There is also more variance across the curves of the model. Without Fresnel, the whole model looks flatter.
Many NPR users are trying to imitate 2D toon styles or work with a limited tone number. If that is your goal, then Fresnel may not be appropriate for your work. However, Fresnel is useful for distinguishing different materials that might otherwise look too similar. It helps give a different feel to cloth or rubber or even skin, and you can find the real Index of Refraction for any of those.
Light Bounce Comparison

The lighting setup on this model is a small point light as the key, a large mesh light as the fill, and a huge half-cylinder behind the model to reflect light. As with the Shaders, I am mixing a method that gives me hard edges with one that gives soft.
The light bounces are making a huge difference to how the model looks. Again, it is a matter of flatness and hard edges versus soft gradients. The bounces are also getting into areas that the lights do not directly shine on and softening the dark shadows there.
Metal
Because we are using Cycles, metallic materials can be made with exactly the same node setup. This is because in reality, the difference between a metallic and non-metallic metal is primarily their Index of Refraction. Non-metallic IORs generally fall into the range of 1.2 - 1.6. Metal materials can have IORs as high as 2.5 (steel), or even strange numbers below 1 like .18 (silver) and .47 (gold). Whenever possible, use the real IOR of your material. When looking up IORs, you want to use the keyword Index of Refraction or Refractive Index. But be warned that some lists present their values in different formats.
If you prefer to use the layer weight node to the Fresnel node, then see this stackexchange thread for how to translate IORs into values appropriate for layer weight.
There is one last thing you need in order to make your material metallic. The Diffuse color must be set to pure black! The desired color of your metal should go into your Glossy color. This will require you to add new inputs to the group shown above.